The Essence of Extracts (Kits)
Essence of Extracts (Kits)
About to embark on a new Hobby in Brewing? The first question you will want to answer is are you going to be brewing with an All-Grain Recipe or an Extract Recipe Kit?
There is no right or wrong way; there are just differences in the process. If both methods are practiced with repetition, care and cleanliness you will enjoy the same outcome. Good Beer!
In the beginning, and when first starting out I would consider brewing with an Extract Kit. An Extract Kit reduces the amount of labor and time on Brew Day and also keeps your equipment needs to a minimum.
It also makes things a little easier, in the beginning. Making beer, in general to say involves different steps and or processes. Each of them having their own time & place within from the time you start until the time you pitch your yeast in the fermenter.
There’s enough to think about and focus on, and if you can focus on the general process and understanding each piece then over time you will have mastered each of these steps and processes and will be able to begin modifying recipes, or adding to them, removing from them, using specialty grains or trying different techniques. Enjoying it all the way!!!
With more time, batches and experience you’ll begin to want to look into All-Grain Brewing and performing your own Mash.
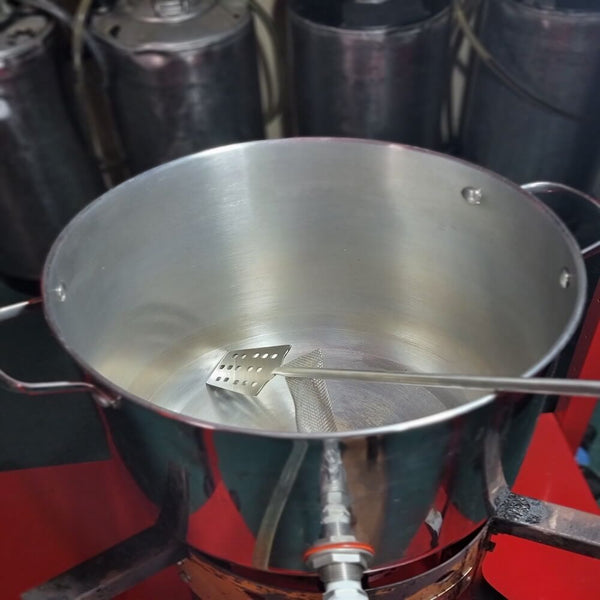
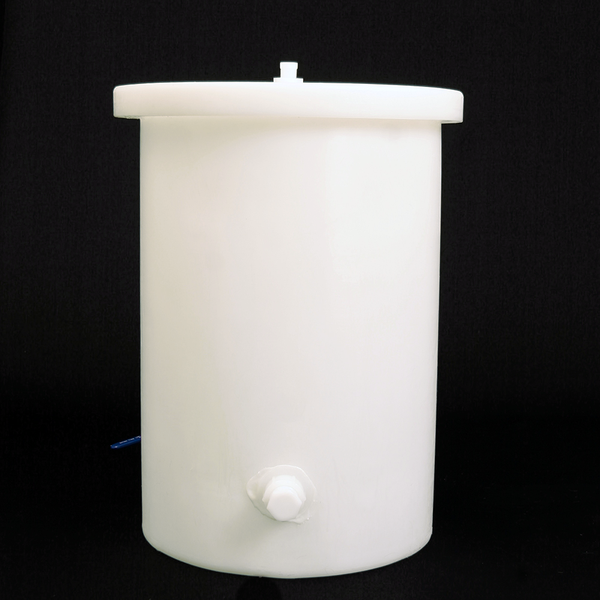
If you do not have a Brew Kettle, but have a large Soup Pot already…you now have a good excuse to add a Ball Valve and Thermometer. If you have a thermometer already you can use, then simply adding a Bulkhead, Hex Nipple and Ball Valve will allow you to convert what you already have and begin using it as your new Brew Kettle. Placing the valve at the bottom of the kettle allows you to use gravity (use a threaded barb and tubing) instead of pouring your wort from the top of the kettle.
Once your Kettle is ready, it’s now time to get the flames going and heating your water!
Recipe depending, your Kit will include Fermentables, Specialty Grains, Wort Additives and Hops. It’s all just a matter of time before they are all in the Kettle, and also a matter of how much time they are in Kettle! Did ya get all that?!
By the time the boil is done, you’re almost there! Now that Wort (Beer before it’s Beer) needs to make it as quickly as possible to the fermenter at the proper temperature before your Yeast is “Pitched” into it.
Add it all together, and before long your Wort begins to ferment and you’ll note your Bubbler Bubbling! At times, you may even need to add a Blowoff Tube to help allow your CO2 escape quicker…otherwise you may Blow a Cork!!
Back to the Kettle…
The first addition to the Kettle in a typical Kit recipe will be your Specialty Grains. These are going to be placed in the Kettle when your water temperature is between 150-170 degrees (your recipe will be specific).
When your temperature is reached, add the Grains. A muslin bag will should be included for the grains. Fill it and toss them in! Typically you’ll steep these grains at the desired temperature for about 30 minutes. You're extracting what you can to impart it within your brew which will add flavoring, color, aroma and also body to your final product. One small change, may completely alter your final product. Be aware and learn as you go.
Once done, discard the bag of grains. One step in the process done! Next, the Sweets and Bitters.
For the Sweets, next comes the “Fermentables.” After your grains are discarded, and that remaining water has been brought to a boil…you will Cut the Flames from the Kettle and begin adding your Extract Syrups or Powders, these are your Fermentables.
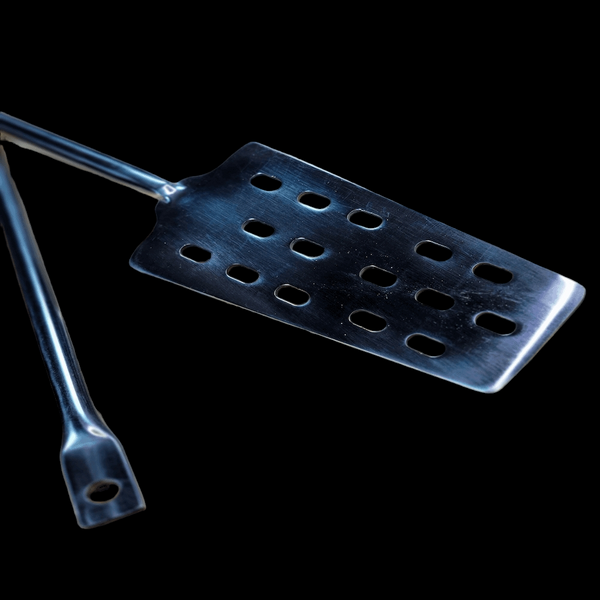
At this point, most recipes would have you put ALL of the Extracts in the kettle…being mindful to stir so nothing sticks to the bottom of your kettle or scorches.
You can add all of the extract, but you don’t have to because those Extracts were boiled once before. So, you can add a third or so to alter your Hop Utilization but you do not have to add all of your Extract(s) at the same time. When there is 10 minutes left in your Boil, you can add the rest of the Extracts.
I also encourage you to dig deeper into the recipes and begin reading from some of the True Brew Gurus out there who have been refining their craft for decades upon decades. It’s all about the process!
Brewing with an Extract Kit is different than an All-Grain Batch of the same recipe. There are things that need to be accomplished regardless, but how you go about them may be different.
Your remaining ingredient to the Kettle are your Hops. Once again, a matter of time. Recipe depending you may have more hops or less hops. Easily said, your hops will determine Bitterness. Most of the time, in order to get the resins needed for bittering…you’ll need about an hour. Less than that, it is will be more noted in the aroma & fragrance of the finished product. Just as important, right!?
Once your boil is complete, it’s time to chill! Normally, as quickly as possible to your desired “pitch” temperature. Why so quick? Less exposure to oxygen and anything else floating around that may eventually infect your Wort, at warmer temperatures.
Batch size and equipment depending, a sink of Ice Water can do the trick. As your kettle gets larger, or may not fit in the sink due to a valve or it’s just too big, you’ll eventually want to look into a Wort Chiller.
Simply stated, a set of Copper Coils has Cold Water running through them and when the Chiller is placed in your Kettle, it cools the temperature of your Wort quickly and efficiently. There are all sorts of ways this can be done, so look into them and see what makes sense, works with what you may have or requires little investment. As you progress, your tools & equipment will as well.
While Chillin…would be a time where you can check your Starting Gravity and ensure it is as close to your target as possible. Once fermentation is complete, you can check Final Gravity reading and again check to see that’s as close to your Recipe.
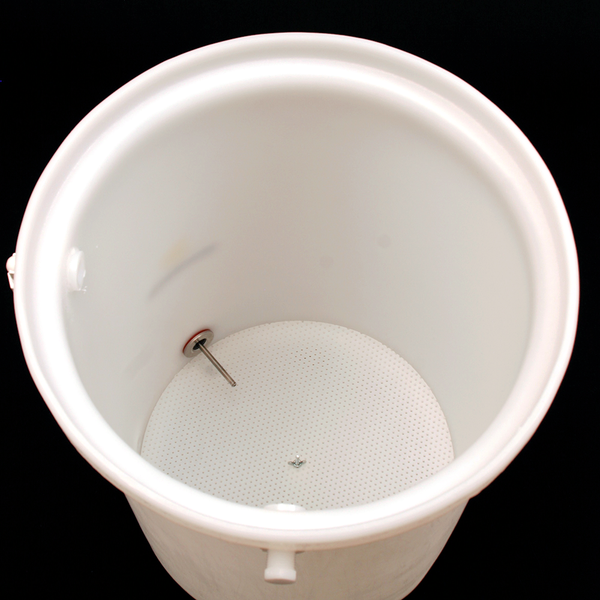
Once your temperature is met, it’s time to move your Wort to your Fermentation Vessel (whatever it is you are brewing in from a Plastic Bucket to a Stainless Steel Fermenter and all in between). Remember, we want to do this step as quickly as possible because bacteria thrive in warmer temperatures. So, the quicker the Wort hits the Fermenter, the better!
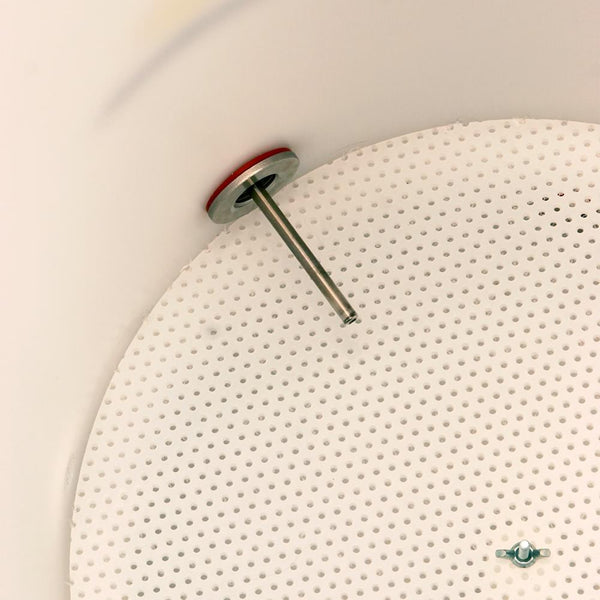
This step is a little easier when you have the ability to use a Valve in the Kettle to help move your wort easily. Connect some tubing to your valve (along with a threaded barb in the valve) and let gravity help by placing your fermenter below your Kettle. Open the valve, and Presto!
Now in the fermenter, throw in the yeast, give is a swish for good aeration…and Call It A Brew Day! Don’t underestimate proper yeast preparation and care, be sure to follow the instructions provided.
Typically Dry Yeast is easier to work with and will last longer if you are not going to use it right away. Liquid yeast is more temperamental, requires more care but offers more variety. It comes down to preference, I think. And, what works for you and delivers the desired outcome. Explore them and have fun!
You made it! 👈👏🙌
Now we Practice Patience until it’s time to Bottle or Keg!
I hope this helps with Providing the Overall Picture as well as some of the More Important Smaller Pieces to make things a little clearer or easier to understand than just following a recipe. Hopefully, the recipe becomes a little easier when you have a good overview of each step in the process.
Practice & Share Responsibly! Cheers 🍻