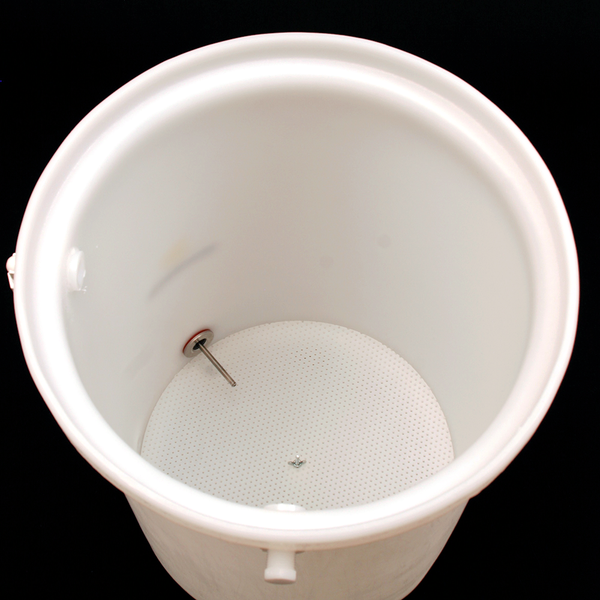
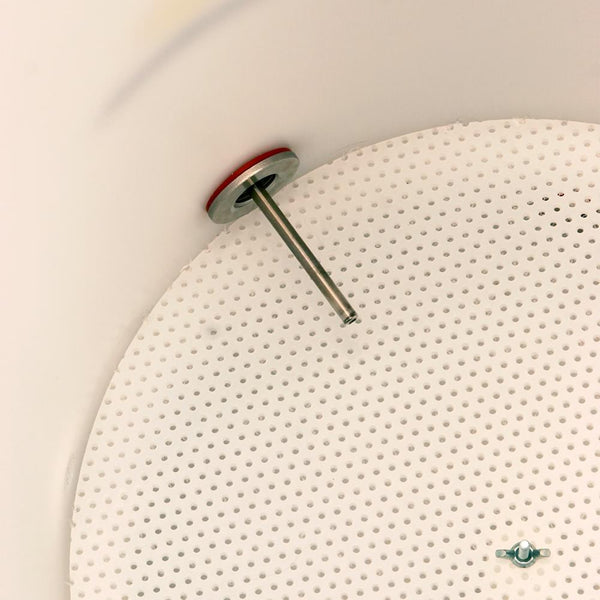
Yeast Propagation & The Racking Port
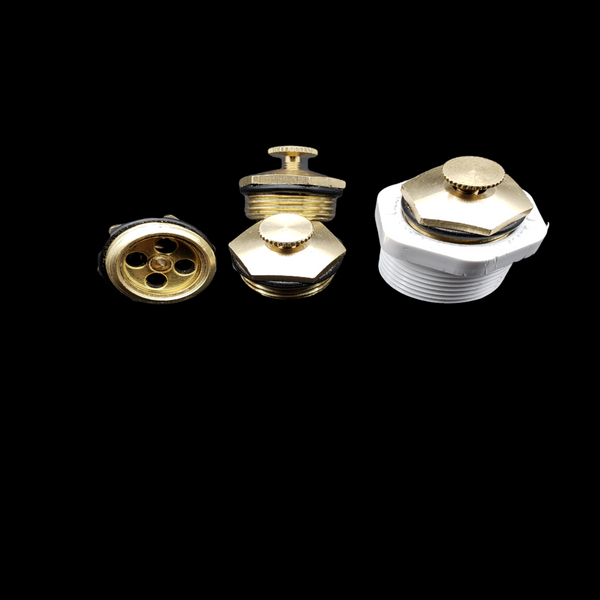
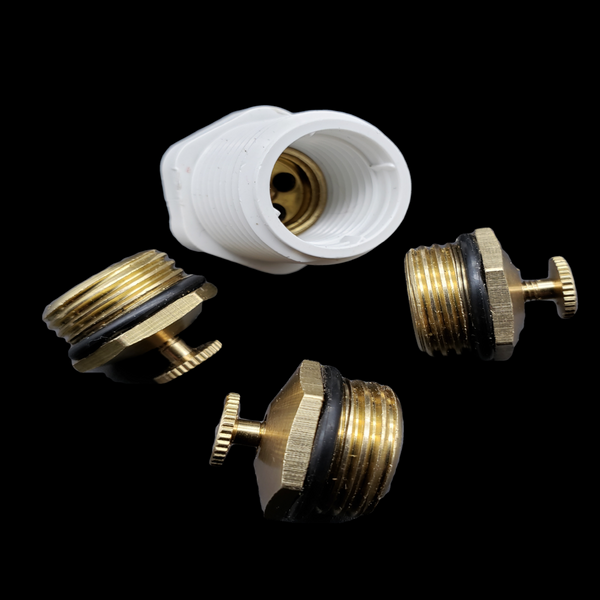
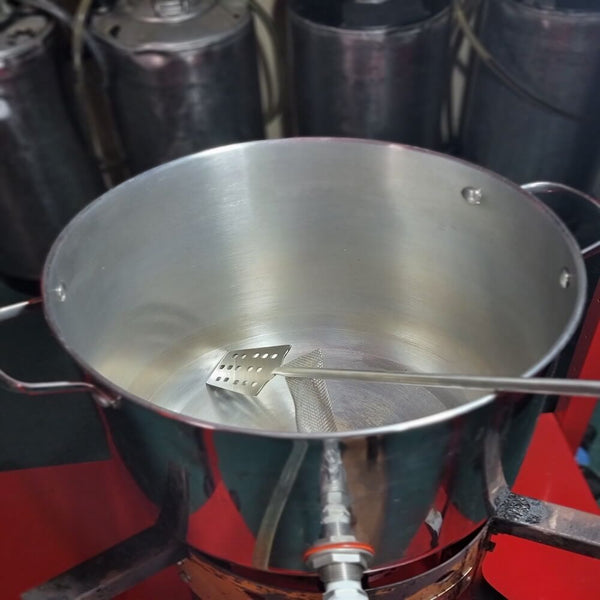
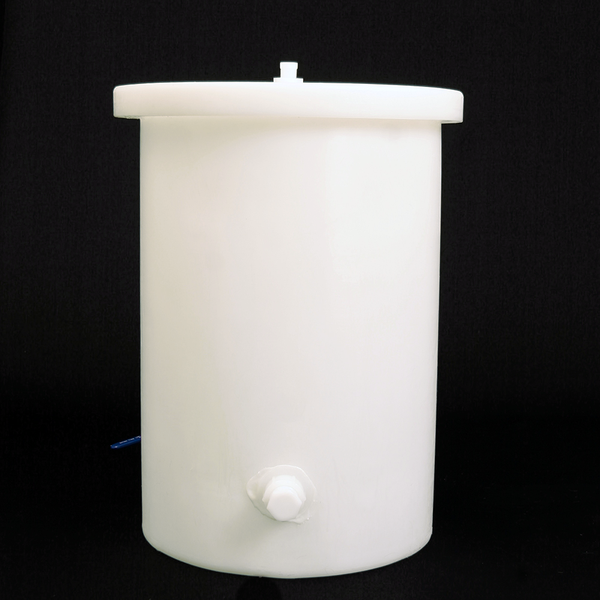
The racking port has a another use besides racking. The Port location (the smooth circle on the side of the cone, is placed so the finished be can be removed, leaving some Live Yeast below the Port. Some suggest as much as 30% pf the settled yeast is alive and be reused.
For those just starting out, there are three reasons brewers would like to use the same yeast over and over again. One: Provides consistency to a product. Two: Reduces cost. Three: If handled properly, it will grow and develop into a unique product; a special taste that is yours alone. It is your unique trademark.
The most important issue you must be aware of, is the yeast may become infected. Home brewers have told me they do not reuse the same yeast more than four or five times. Professional brewers have access to laboratory equipment such as microscopes to check their yeast for bacteria, very regularly.
The volume of yeast needed for reuse is very, very small. The yeast, as it settles to the bottom of the fermenter will layer. The middle layer is the best. This good yeast has a color that is almost white with a slightly yellow cast. Therefore, as you drain off the yeast, watch closely and collect the middle layer (use a small scoop or spoon) placing it in a sterile jar and saving it at 38 degrees F.
This yeast slurry should last about two weeks. You will need to propagate the slurry up to the required volume a day or two before your next brew. This will ensure your yeast is healthy and viable. Wash away the excess and now you are on your way to creating your own unique flavor.